A latte comes down to two things: a well-pulled espresso shot and properly steamed milk. Get both right and you're making a drink that holds its own against anything from a café - at a fraction of the price.
This guide covers all of it: the equipment you actually need, how to pull a consistent shot, how to steam silky microfoam (and why it's different from foam), which milk types work and which need careful handling, and how to make a proper iced latte.
The learning curve is shorter than most people expect. With the right setup, most people are pulling proper lattes within a week of daily practice. Here's exactly how to get there.
What You Need Before You Start
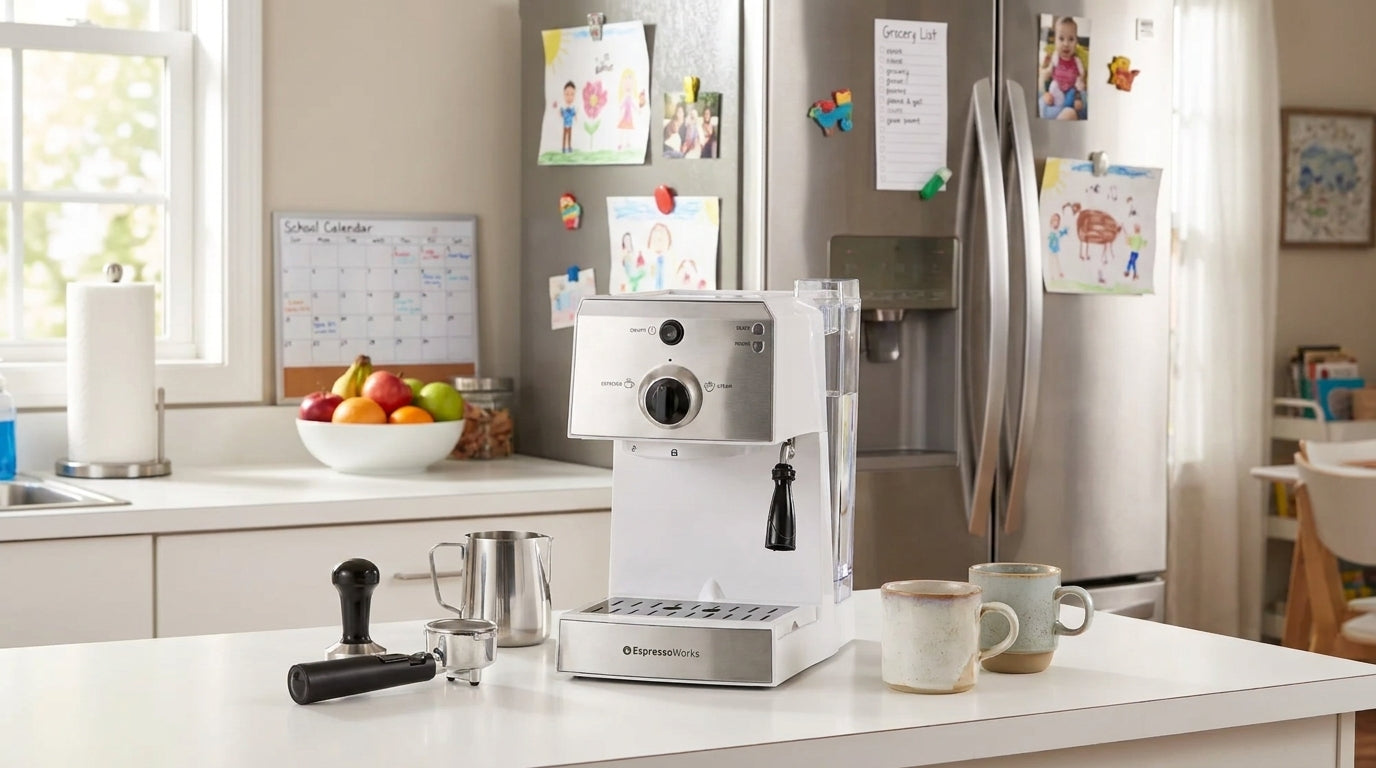
The steam wand is the piece you can't skip. A handheld frother adds air to milk, but it can't build the silky, integrated microfoam a latte needs. That requires pressurised steam from a proper espresso machine. EspressoWorks machine sets all include a built-in steam wand, a 15-bar pump for full-bodied shots with crema, and the Advanced Thermoblock System that heats to brew temperature in 45 seconds. If you want everything in one box, the 7-Piece Set covers the full equipment list below: machine, grinder, stainless steel frothing pitcher, and cups.
For the pitcher, stainless steel in the 300-350ml range is the target for a single drink. Milk increases in volume as it steams, so a pitcher that looks oversized for the amount of milk you're pouring is exactly right. Match it with an 8-10 oz cup - that's the right capacity for 1-2 espresso shots plus around 6 oz of steamed milk.
Beans: buy whole and grind fresh, immediately before pulling. Pre-ground coffee loses its aromatic oils within hours - that's where the flavour lives, and you can't get it back. Filtered water makes a real difference too. Hard or mineral-heavy tap water affects extraction consistency and builds scale inside the machine faster than you'd expect. It's a small change that protects both the shot quality and the machine.
How to Pull the Espresso Shot

The foundation of every latte is a 1:2 ratio: 18-20g of ground coffee in, 36-40g of liquid espresso out. That ratio gives the shot the body it needs to hold up against 6 oz of steamed milk without tasting thin.
Grind and Dose Your Coffee
Grind immediately before pulling - not 10 minutes ahead. For a double shot (the standard base for a latte), dose 18g. Grind to medium-fine: roughly the texture of table salt. If the shot finishes in under 20 seconds, go one notch finer. If it slows to a drip or chokes completely, go coarser. Small adjustments make a big difference here.
Tamp the Puck
Distribute the grounds evenly across the portafilter basket before you tamp. An uneven bed creates channels - paths of least resistance that water rushes through while bypassing the rest of the puck, giving you a patchy, weak extraction. Then press down with the tamper at around 30 lbs of pressure: firm, flat, no twisting. Level is the whole job. Our full tamping guide covers the bathroom scale calibration method if you want to lock that pressure into muscle memory.
Lock In and Pull
Run hot water through your cup to pre-warm it. A cold cup causes thermal shock that kills the crema fast. The Thermoblock heats to brew temperature in 45 seconds, so have your cup ready before the machine is. Lock the portafilter in and start the shot immediately - leaving it idle lets the brew head heat the dry grounds before water reaches them. Target 25-30 seconds for a double. Watch for a steady amber-brown stream with reddish-golden crema on top.
How to Steam and Texture Milk for a Latte
The difference between a latte and a cappuccino comes down to milk texture. Cappuccino milk is thick, dry, and airy - lots of foam, stiff enough to hold its shape. Latte milk is microfoam: silky, glossy, with bubbles so small you can barely see them. It pours smoothly and blends into the shot rather than sitting on top. Getting there takes two phases: stretch (adding air) and roll (heating and integrating the foam).
Fill the pitcher to just below the spout before you start. Milk increases in volume during steaming, so starting too full means it'll overflow before you reach temperature.
Purge the Steam Wand First
Point the wand away from you and open the steam valve for 1-2 seconds before submerging it. This clears condensed water from the tip - water introduced to the milk at this stage creates uneven, splashy bubbles rather than smooth foam. Wipe the wand clean after every use.
Position the Wand and Aerate
Submerge the wand tip just below the milk surface, angled slightly toward the pitcher wall. Open the steam valve fully. Listen for a gentle hissing - quiet and consistent, not loud spluttering. That's the stretch phase working: air injecting into the milk while the pitcher starts swirling. If you hear screeching, the tip is too shallow. If it splutters loudly, you've gone too deep. Hold this position for 5-8 seconds to build the foam volume.
Roll the Milk to Finish
Once the foam is built, drop the pitcher slightly to submerge the tip deeper. This shifts into the roll phase: a vortex that integrates the foam and heats the milk evenly without adding more air. Steam to 140-155°F (60-68°C) - above 160°F, milk proteins break down and you lose the natural sweetness. The stainless steel pitcher tells you when you're close: stop when the metal is too hot to hold comfortably for more than 5 seconds. Pull the wand out, purge again, and wipe clean. Give the pitcher a sharp tap on the counter and swirl. The milk should look glossy, like wet paint. That's what a latte pour looks like.
Which Milk Works Best for a Latte
Fat and protein content determine how any milk behaves under steam. The higher both are, the more stable the foam structure - and the easier it is to build microfoam. Whole milk has the highest of both, which is why it's the most forgiving option when you're learning the technique. It produces the richest, sweetest microfoam, gives you the longest working window before the foam sets, and blends into espresso with the smoothest texture. Start here.
Oat milk is the strongest non-dairy option for steaming. Standard oat milk can thin out or separate under high heat - the fix is buying a barista-formulation oat milk, which has higher fat content and added emulsifiers that stabilise the foam. Look for "barista" on the label. It froths reliably and holds microfoam texture close to whole milk.
Almond milk is the most technically demanding. Low fat and protein means the foam is thin and breaks fast. You can get a workable result, but the technique needs adjusting: steam to a lower temperature (around 130-140°F rather than the standard 140-155°F) and pour immediately before the foam separates.
For 2% milk, you're in solid middle-ground territory. Steams well, produces decent microfoam, not as rich or sweet as whole.
Putting the Latte Together

Move quickly once the shot is pulled and the milk is textured - crema fades and foam separates within a couple of minutes. Pour the espresso into the cup first, give the pitcher a final swirl, and check that the milk looks glossy and uniform.
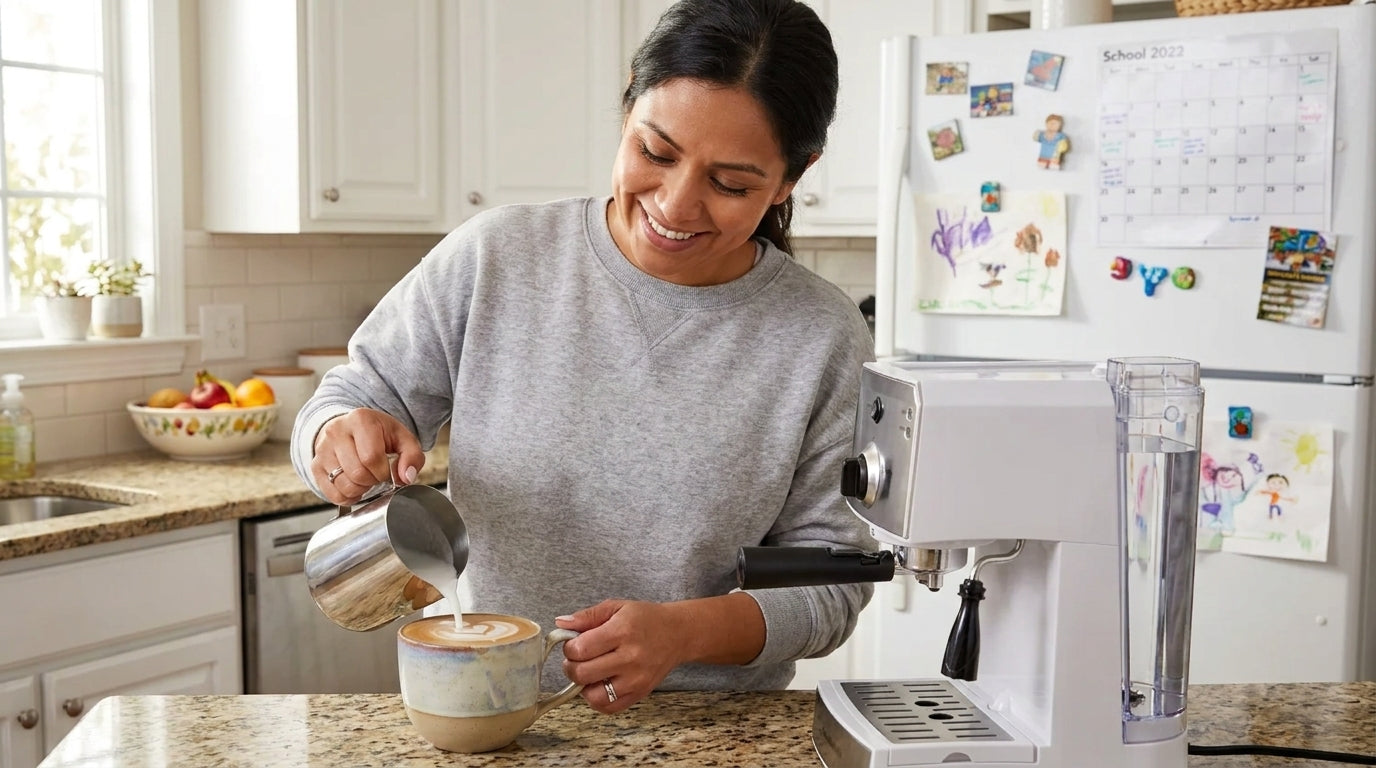
Start pouring from 3-4 inches above the cup. At that height, the milk naturally flows underneath the espresso layer and incorporates through the drink rather than breaking the crema on top. As the cup fills, lower the pitcher gradually and tilt the cup toward you - the tilt controls how fast milk fills the cup and gives you a clear view of what's happening at the surface.
Once the cup is about two-thirds full, drop the pitcher close to the surface and pour the last third in one steady stream. That's the move behind a basic free-pour heart - the milk mass hits the surface and spreads, then the final stream cuts through it. It takes a few pours to get consistent, but the mechanics don't change.
Finished ratio: 1-2 shots plus 6 oz of steamed milk, with a thin microfoam layer on top. Not a thick foam cap - that's a cappuccino.
How to Make an Iced Latte at Home
Pour scalding espresso straight over ice and it melts within seconds, diluting the drink before you've tasted it. The fix: pull your shots as normal, then let them rest for 1-2 minutes before building the drink. That short wait keeps the ice intact and the flavour clean.
Fill a 12-16 oz glass with ice first. Add cold milk straight from the fridge - no steaming required for an iced latte. Then pour the cooled espresso over the top. It'll layer on the surface initially, which looks good but needs a stir to combine. If you're using a flavour syrup - vanilla, caramel, and hazelnut all work well - add it to the glass before the milk so it distributes evenly rather than pooling at the bottom.
The ratio is 2 espresso shots to 8-10 oz of cold milk over ice. Start there and adjust to taste - more milk for something lighter, less if you want the espresso to come through stronger. No thermometer, no steaming, no pouring technique to learn. The iced latte is the faster build, and it's worth having in the rotation year-round.
Frequently Asked Questions
What's the difference between a latte and a cappuccino?
Ratio and foam. A latte is mostly milk - 1-2 espresso shots with around 6 oz of steamed milk and a thin microfoam layer on top. A cappuccino is equal thirds: espresso, steamed milk, and thick foam. Less milk, more texture.
How do I know when my milk is steamed enough?
The pitcher will be too hot to hold comfortably - that's around 140-155°F. The milk should look glossy, not bubbly. Give it a sharp tap on the counter and a swirl: if it moves like wet paint, it's ready to pour.
Can I make a latte without an espresso machine?
You can use a Moka pot or strong AeroPress brew as the coffee base, but the result is closer to a milk coffee than a true latte. The issue isn't coffee strength - it's the microfoam. A steam wand is the only way to texture milk properly for a latte.
Why does my espresso taste bitter?
Most likely over-extraction. Try a coarser grind first - that's the most common fix. The target is 18g in, 36g out in 25-30 seconds: if the shot finishes too fast, go finer; if it runs slow and tastes harsh, go coarser.
Why does my milk come out foamy instead of silky?
Too much time in the stretch (aeration) phase. Keep aeration to the first 5-8 seconds, then drop the wand tip deeper to roll and heat the milk without adding more air. Foamy milk means the wand stayed near the surface too long.
Here's the thing: everything in this guide comes back to two skills - pulling a consistent shot and steaming silky milk. Both get faster and more intuitive with each attempt. Most people are making proper lattes within a week of daily practice, and the FAQ above covers the specific problems most people hit along the way.
The 7-Piece Set has everything covered in this guide: a 15-bar pump espresso machine, electric grinder, stainless steel frothing pitcher, and cups. One box, ready to brew in 45 seconds. The next step is the first shot. Grind 18g, tamp level, lock in, and start the timer. The technique takes about a week. After that, the morning latte stops being something you think about and starts being something you look forward to.