The foam isn't decoration. It's what separates a cappuccino from a latte, a flat white, or a strong coffee with milk poured in - and getting it right is the whole skill.
A cappuccino is three equal parts: one espresso shot, an equal volume of steamed milk, and the same again of thick, velvety microfoam on top. That ratio is what you're building toward every time.
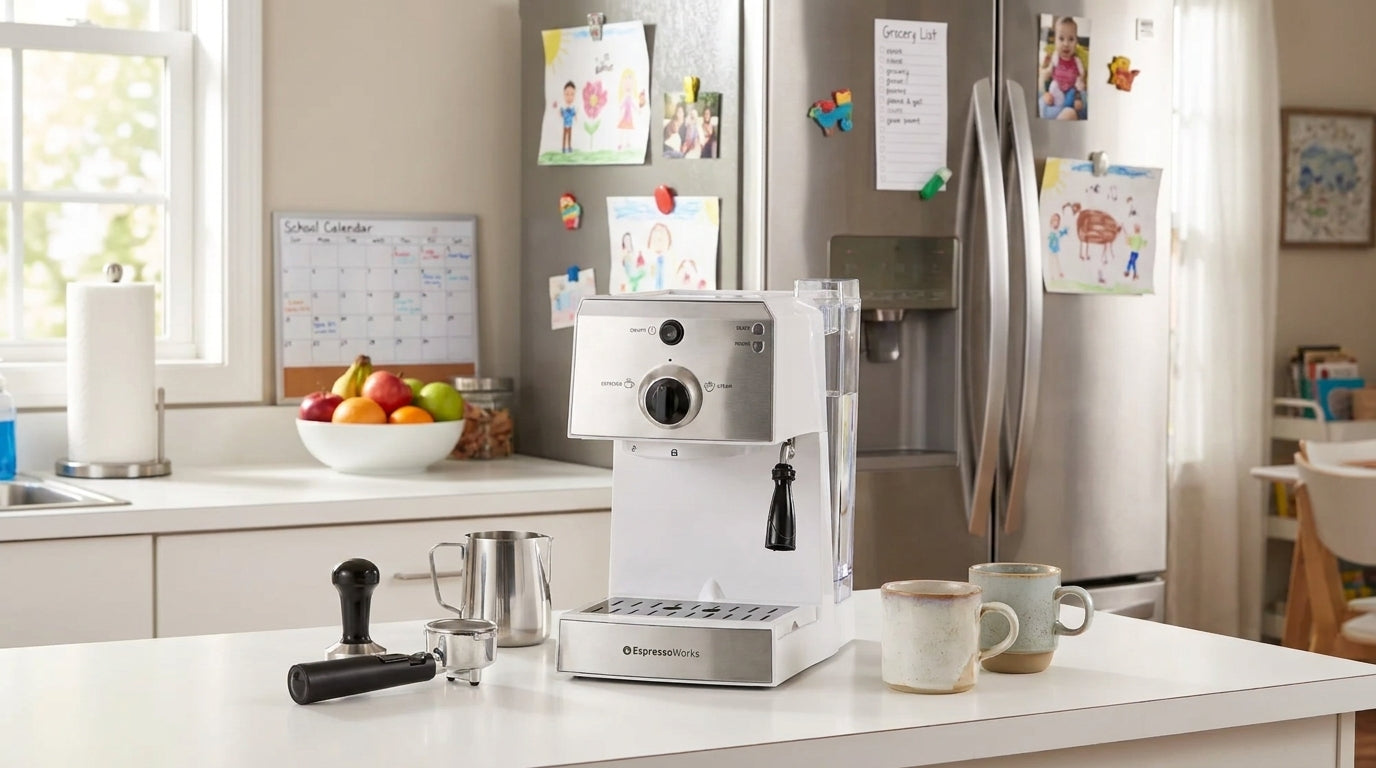
This guide walks through the full process - pulling the shot, steaming milk to the right texture and temperature, building the foam cap, and finishing with a dusting of cocoa powder. If you've just unboxed your EspressoWorks machine or you've already pulled a few shots, this is where to start.
The Equal Parts Rule (And Why Cappuccino Is Not Just a Latte)
Put numbers on it: a 30ml espresso shot, 30ml of steamed milk, and 30ml of microfoam on top. That's roughly 90ml of drink in a small cup - leaving space for the foam cap to sit above the rim the way it should.
A latte shifts those proportions toward more steamed milk and less foam; the espresso flavour softens into the liquid. A flat white uses microfoam but no distinct foam layer. The ratio defines the drink. Change it and you've made something else.
That foam cap does more than look the part. It insulates the espresso underneath, slowing heat loss. It also changes how the flavour hits: foam first, then steamed milk, then the concentrated shot underneath. That layered hit is what the drink is built around.
How to Pull Your Espresso Shot
Start with the grind. Pre-ground coffee goes stale within hours of opening. That's why we include an electric grinder in every EspressoWorks machine set. Grind fresh, right before you brew.
Dose your ground coffee into the portafilter basket - use the single basket for a standard cappuccino, or the double for a stronger base. Distribute the grounds evenly across the basket, then tamp with firm, level downward pressure - around 30 lbs. An angled puck channels water unevenly through the grounds and throws off the extraction, so keep it straight.
Lock the portafilter in and press brew. The Thermoblock heats to brew temperature in 45 seconds from cold, so there's no lengthy warm-up. A well-extracted shot runs for 25-30 seconds and comes through with rich, reddish-brown crema sitting on top. That crema is the 15-bar pump at work - pressure forcing hot water through compacted grounds at the right rate to pull out the full, round flavour.
Time your shot. If it finishes in under 20 seconds, the extraction is too fast and the coffee will taste sharp and sour. Grind finer. If it runs past 35 seconds, it's over-extracted and bitter. Go one step coarser.
How to Get Thick Microfoam on the Steam Wand
While your shot pulls, set up the milk. Start with fridge-cold whole milk - around 120ml for a single cappuccino, filled to just below the pitcher spout. Cold milk isn't a preference. The milk proteins are in their tightest, most structured state when cold, which means they stretch and trap air efficiently as the milk heats. Start warm and you lose that window before the milk overheats.
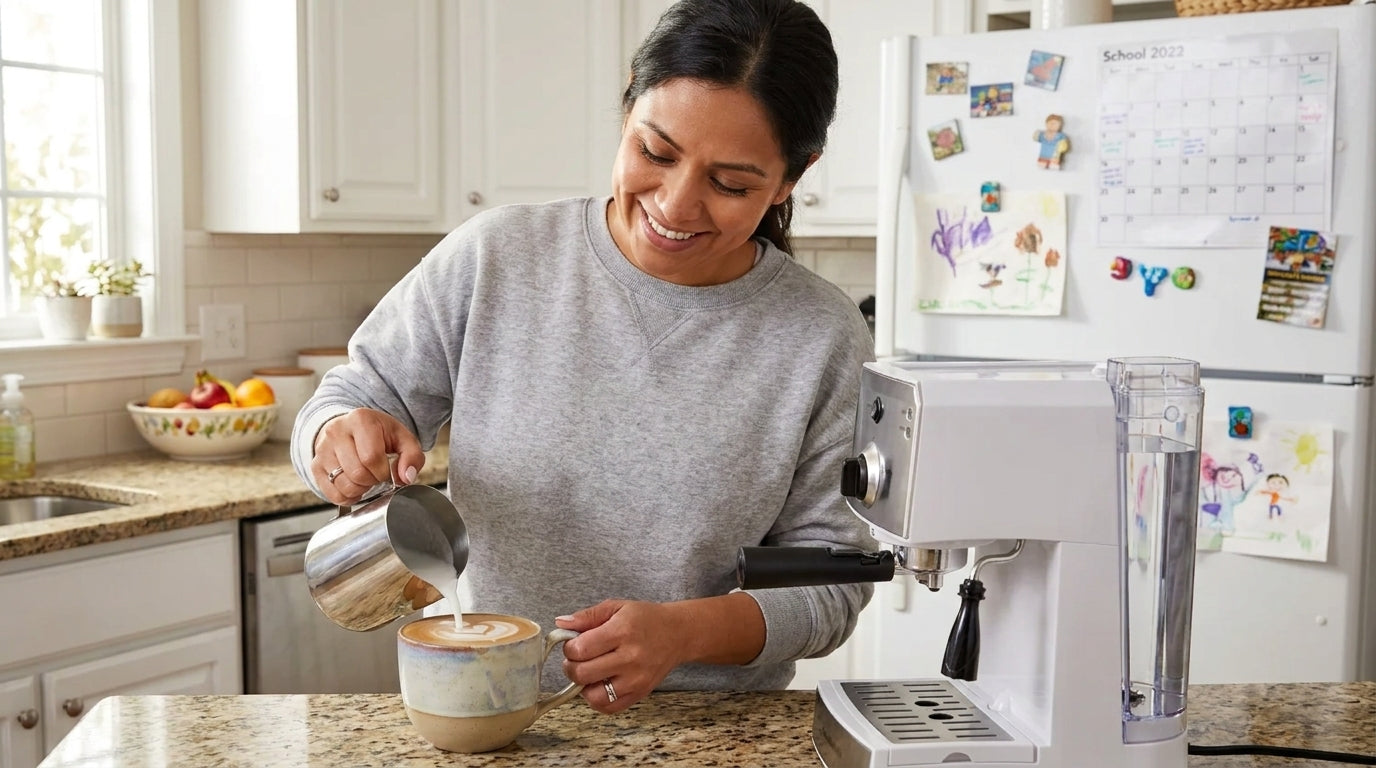
Position the steam wand tip just below the milk surface, then angle the pitcher slightly - enough so the milk begins to rotate in a vortex when you open the steam. That spin is what does the work.
The first 3-5 seconds are the stretching phase. Keep the wand tip at or just below the surface. You'll hear a gentle hissing as air folds into the milk. That's exactly right. If the milk screams or screeches, the tip is too far above the surface and pulling in too much air at once. Drop it slightly until the sound settles.
Once you've built the volume, push the wand tip a little deeper and let the vortex continue. This is the texturing phase. The spinning motion breaks large air bubbles down into fine, uniform microfoam - the glossy, velvety result you're working toward.
Stop at 60-65°C (140-150°F). A clip-on thermometer takes the guesswork out while you're learning. The practical backup: when the pitcher is too hot to keep your palm against for more than a few seconds, switch off the steam. Tap the pitcher base on the counter once, then swirl to knock out any remaining large bubbles before you pour.
Dry vs Wet Cappuccino - Which One Are You Making
Right off the bat: dry and wet cappuccino taste and feel genuinely different, and which one you make comes down to what you do at the pour stage.
A wet cappuccino uses more steamed milk poured freely, with foam settling as a thinner, silkier layer on top. The espresso flavour is soft and rounded, folded into the milk rather than sitting above it. A dry cappuccino goes the other way: less steamed milk, more foam. The cap sits thick and stiff, proud above the cup rim, and the espresso flavour punches through clearly underneath. Traditional Italian cappuccino sits closer to the dry end - a dense foam dome with a concentrated shot beneath it.
To make it wet, pour the steamed milk freely and let the foam settle on top naturally. To make it dry, hold back the liquid milk with a spoon as you pour, then spoon the foam directly onto the shot.
Neither is wrong. It comes down to how strong you want the espresso and how much texture you want in the foam.
How to Build and Finish the Drink

Regardless of style, the assembly is the same: espresso in the cup first, steamed milk poured in next, then the foam cap on top.
Finish with a dusting of cocoa powder or cinnamon directly over the foam cap. A fine-mesh shaker gives even coverage without clumping. One or two shakes is enough - you want a thin, even layer, not a coating.
Serve immediately. Cappuccino foam starts collapsing within a minute or two - and the layered texture you built through the stretching and texturing phases is worth drinking while it's intact.
When the Foam Goes Wrong (And How to Fix It)
The steam wand technique has a learning curve, but the problems are consistent and the fixes are straightforward.
Foam too thin: The wand tip was too deep during the stretching phase. Keep it at or just below the surface for the full 3-5 seconds - that surface time is where the volume is built.
Large bubbles instead of microfoam: Not enough vortex spin. Re-angle the pitcher so the milk rotates more actively, or tap the pitcher base on the counter and swirl after steaming to break them down.
Milk screaming or screeching: The tip is too far above the surface, pulling in too much air at once. Drop it slightly until the sound settles to a gentle hiss.
Foam too stiff or dry: Too long in the stretching phase. Reduce surface time to 2-3 seconds on your next attempt, then move into the texturing phase sooner.
Scalded or flat-tasting milk: You went past 70°C. Use a thermometer until you've calibrated the feel of the pitcher, or count your steam seconds consistently. For a deeper walkthrough of the full technique, our complete guide to frothing milk covers all three phases in detail.
Most of these issues sort themselves out within two or three attempts once you know what to listen and feel for. The hiss, the vortex, the heat of the pitcher - those are your feedback loop.
Frequently Asked Questions
Can I use non-dairy milk for cappuccino foam?
Oat milk is the closest alternative to whole milk - use a barista-blend variety and the foam holds well. Skim milk produces more volume but thinner texture. Almond milk is the hardest to froth; the lower protein content makes it difficult to build microfoam.
How do I know when the milk is hot enough without a thermometer?
When the pitcher is too hot to keep your palm against for more than 2-3 seconds, you're at roughly 60-65°C. That's your cue to stop steaming.
Why does my cappuccino taste bitter?
Over-extraction. If the shot ran longer than 35 seconds, the grounds gave up more bitter compounds than you want. Grind coarser by one step and pull again.
Can I make a cappuccino without a steam wand?
A handheld frother produces foam, but not microfoam. The bubbles are larger and the texture is noticeably coarser. For the velvety cap a cappuccino needs, a steam wand is the right tool.
---
The foam is where the skill lives. Everything else in this guide - the ratio, the shot, the dry/wet choice - follows once the wand technique clicks. Cold milk, tip at the surface to stretch, vortex to texture, stop at 60-65°C. That's the sequence, and it's repeatable.
The first attempt won't be perfect. The second will be closer. By the fifth you'll have it dialled in - and the thick, velvety foam cap will be there every time.